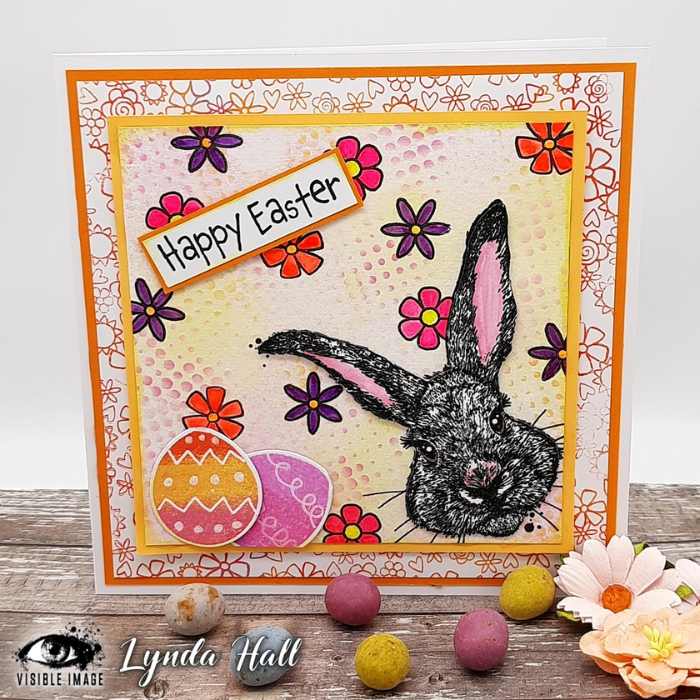
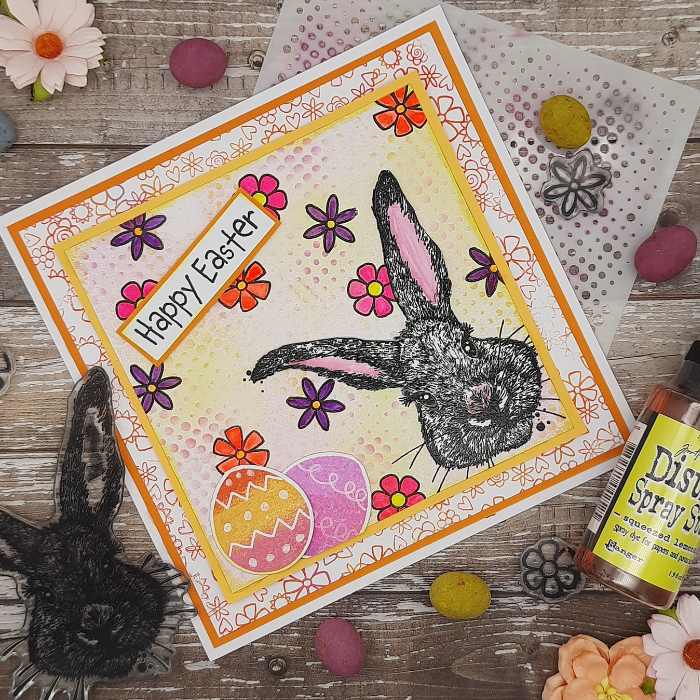
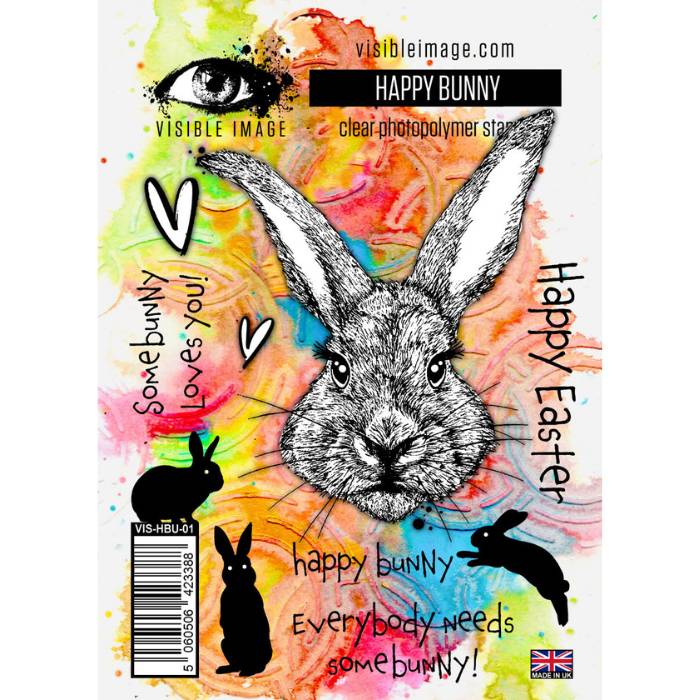
It's not long now until Easter will be upon us (please tell me I am not the only one devouring far too many Mini Eggs now they are in the shops!), and to celebrate I have made a bright cheery card focusing on the cute Happy Bunny stamp set for this week's inspiration for Visible Image.
TUTORIAL
I began by stamping and embossing the rabbit onto watercolour card and spraying ink and a little water over it.
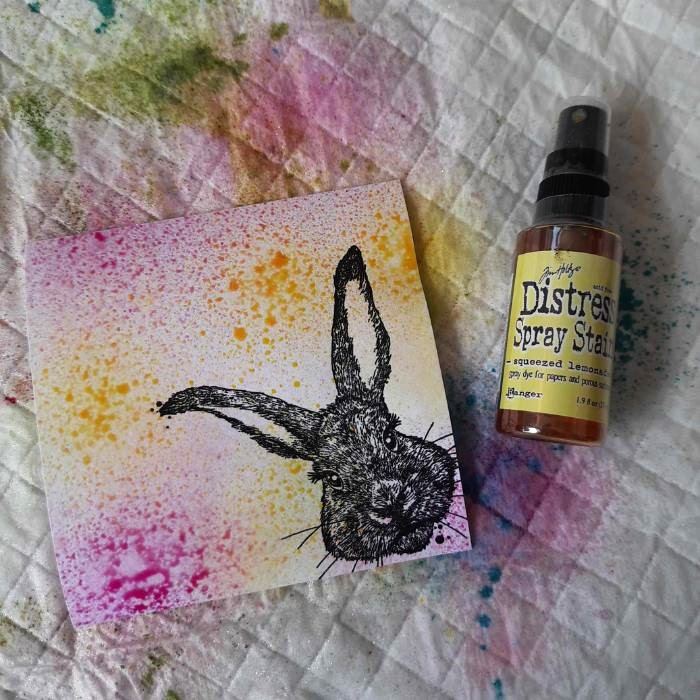
I wanted the colours to be pale so rather than drying it then, I rolled a paper towel over it to lift a lot of the colour and left to air dry.
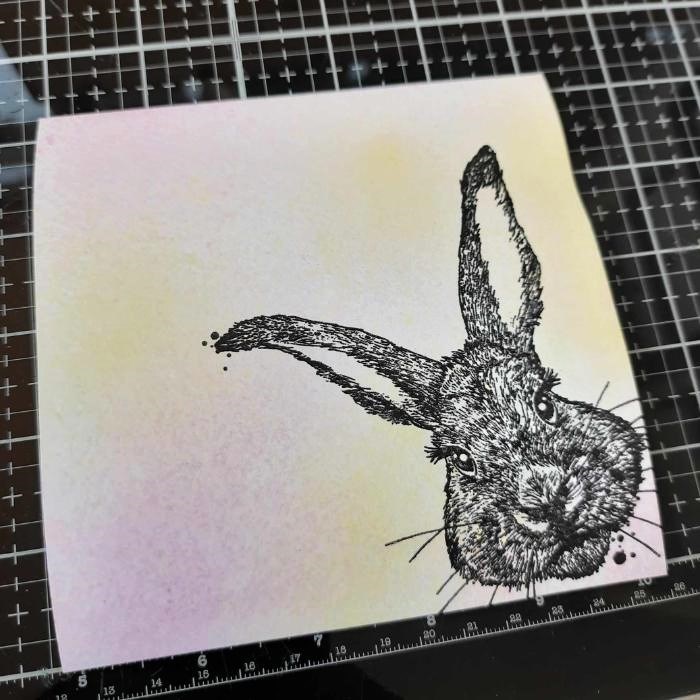
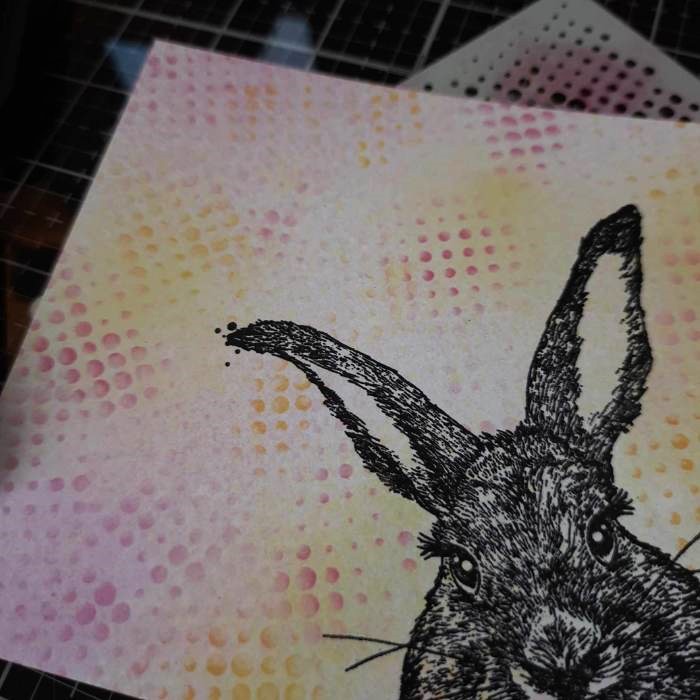
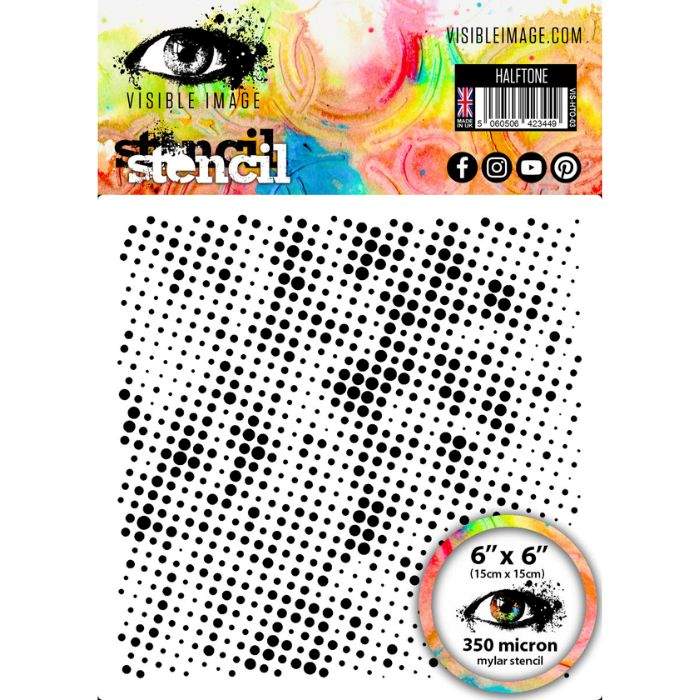
Once dry I inked through the Halftone stencil with co-ordinating colours. This stencil is SO useful for adding a bit of interest to a background.
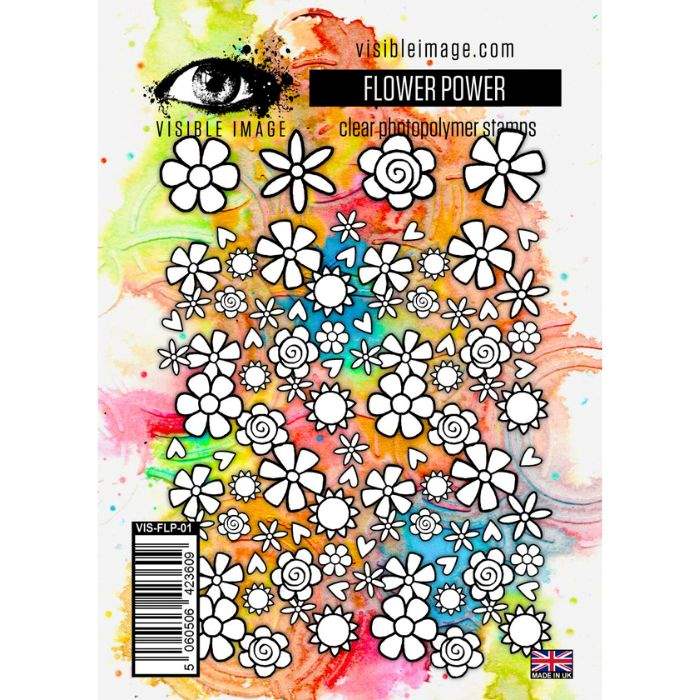
I added some flowers from the Flower Power stamp set.
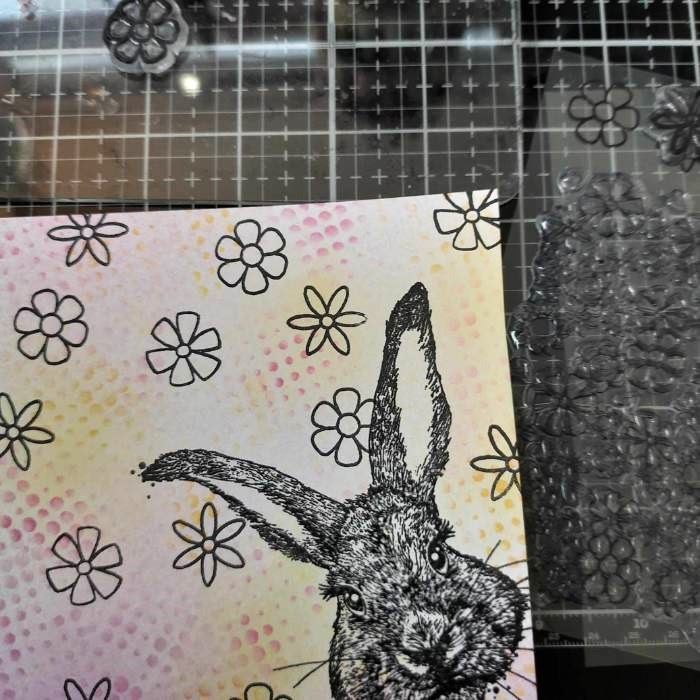
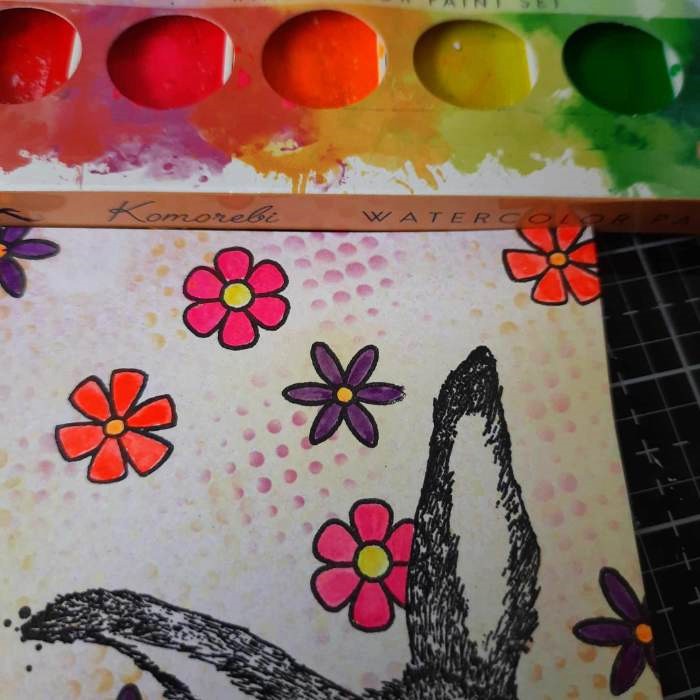
..and coloured them with neon watercolour paint. So vibrant!
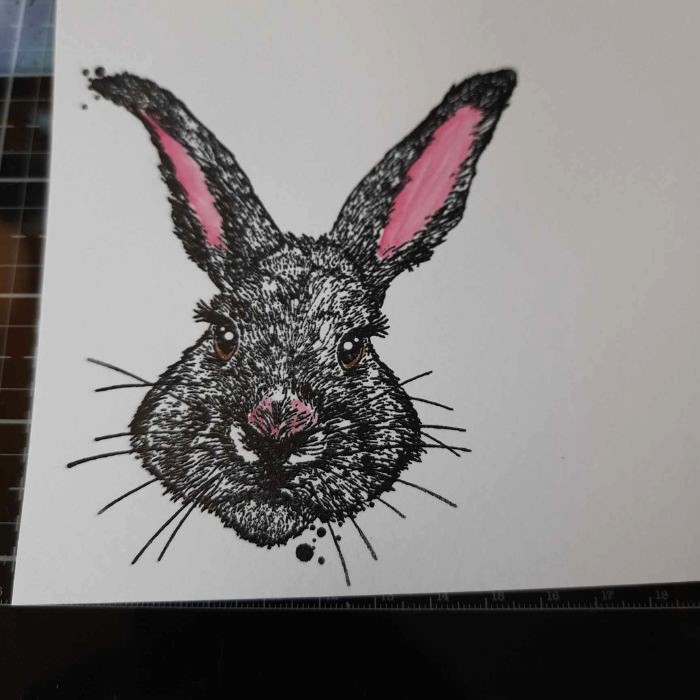
I re-stamped the bunny on white card, coloured and fussy cut.
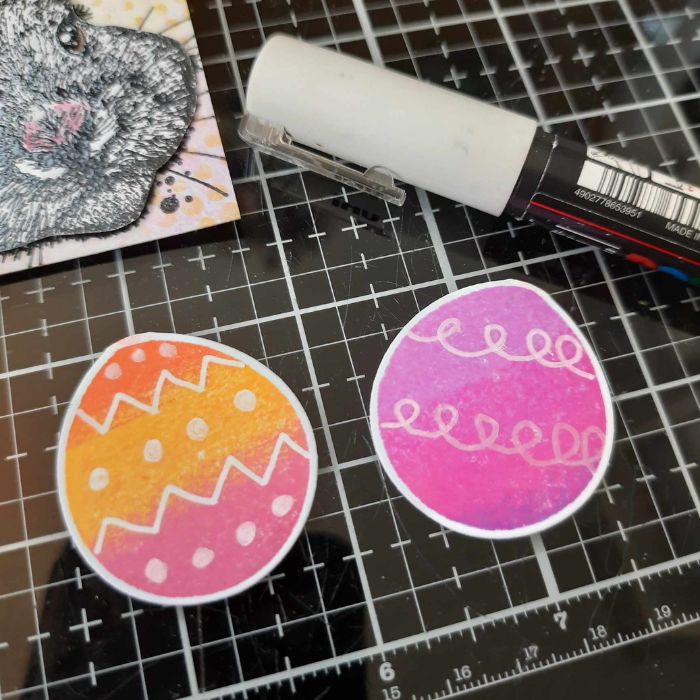
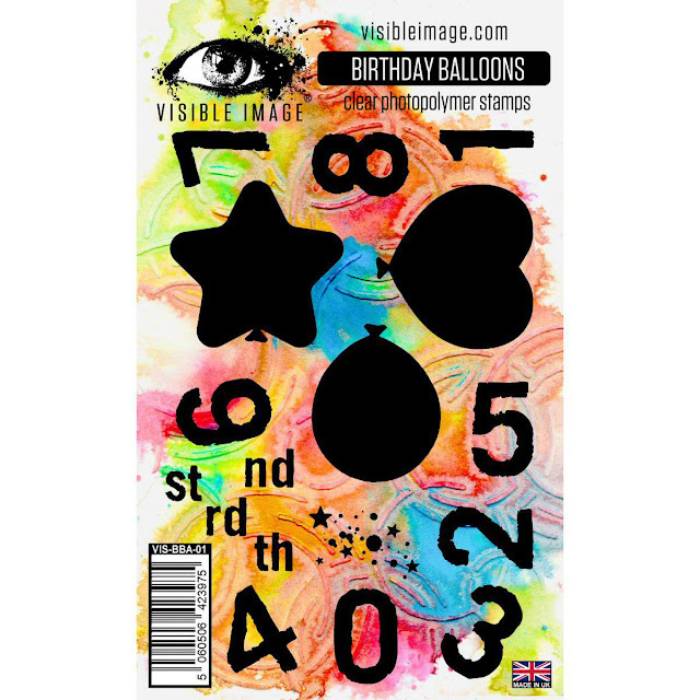
I wanted to add some eggs to embellish the card, and remembered I had some balloons already stamped from the Birthday Balloons set that would be the perfect shape! I cut off the ends and used a white paint pen to add a pattern. Hey presto perfect Easter eggs!
Finally I created a backing paper to layer the main image on. Using the large Flower Power stamp I simply inked around the border of a white sheet of card in coloured ink and mat and layered to complete my card.
If you want to get your hands on this gorgeous bunny stamp you will find the shopping links below!
I will be back soon with another dose of Visible Image inspiration!
Lynda
PRODUCTS USED
SHOP
SHOP
SHOP
SHOP

