Enchanted Fairy & Art Spheres #1
As soon as I saw this stunning fairy stamp set I knew exactly what I wanted to do and by coincidence I watched a tutorial on how to create a bokeh effect background. Perfect timing!
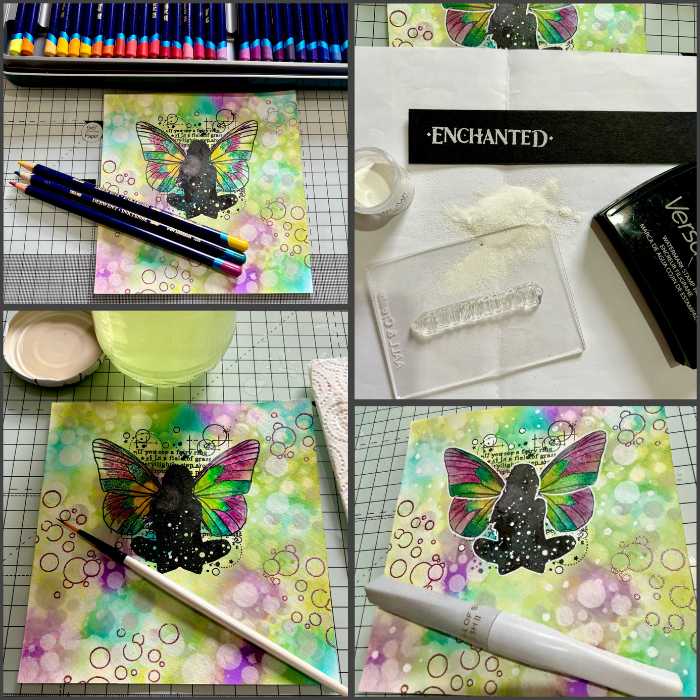
First I chose 4 distress oxide colours which I thought would go together and on a piece of 14x14cm smooth(ish) watercolour card I began adding the colours one by one in circular motions randomly onto the card. You don’t need to be too precise as this is just the base layer.
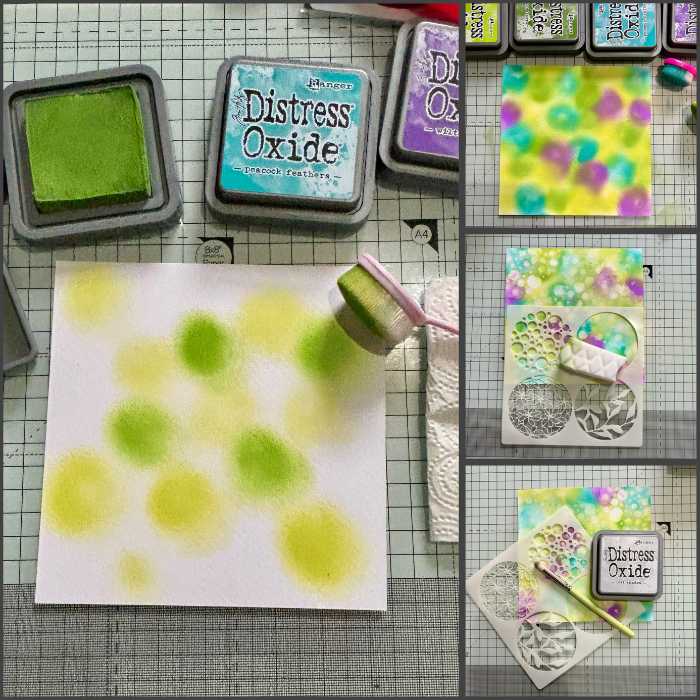
Next using a piece of sponge dipped in water and squeezed out (not so it’s dry, you want some moisture) I dabbed it through the “bubbles” stencil from the Art Spheres #1 set and dabbed with paper towel. This removes the distress oxide ink from the card leaving the stencil pattern. I repeated this in various positions on the card until I was happy. Then you need to dry the card. I used a heat tool to speed up the process.
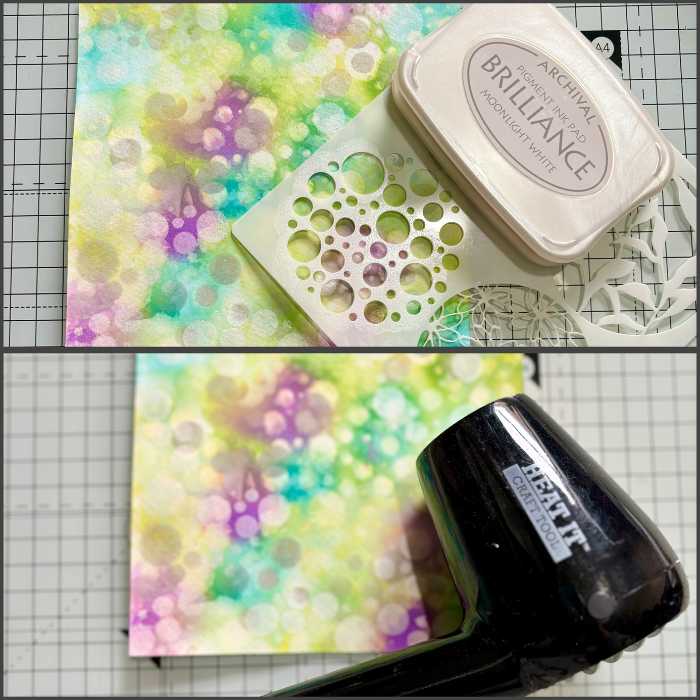
The next step is to use the same stencil again, but this time blend a very pale distress oxide through it. I chose Lost Shadow. Again dry thoroughly and clean the stencil. For the final layer I used Archival Brilliance in Moonlight White, this gives a lovely almost pearl like effect.
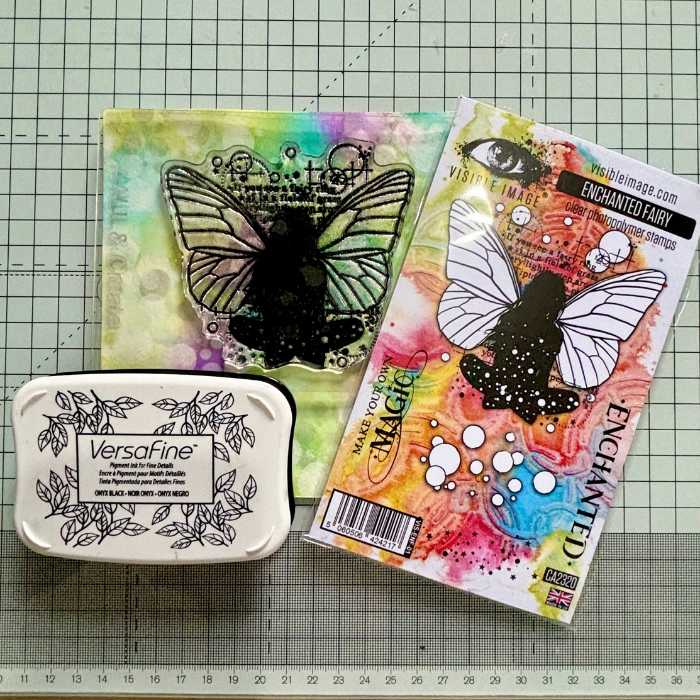
Now for the stamping! Making sure the card was completely dry I stamped the main image from Enchanted Fairy using Versafine Onyx Black. Make sure you ink the stamp up really well as there’s a lot of coverage needed. You could use a stamp platform then you can repeat stamp a couple of times. This fairy is just stunning!
I then chose the background “orbs” from the same set and stamped in various position using Versamark and then heat embossed in Wow! Himalayan Musk which is a metallic pinky purple colour.
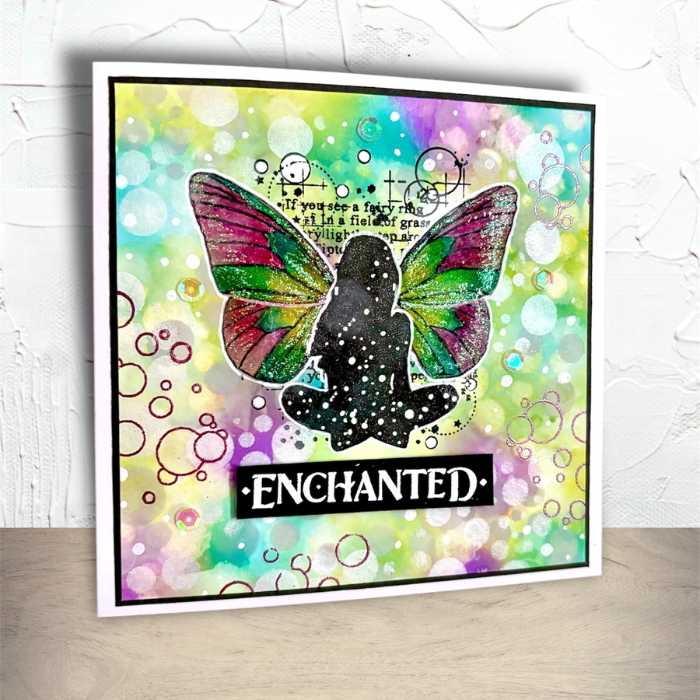
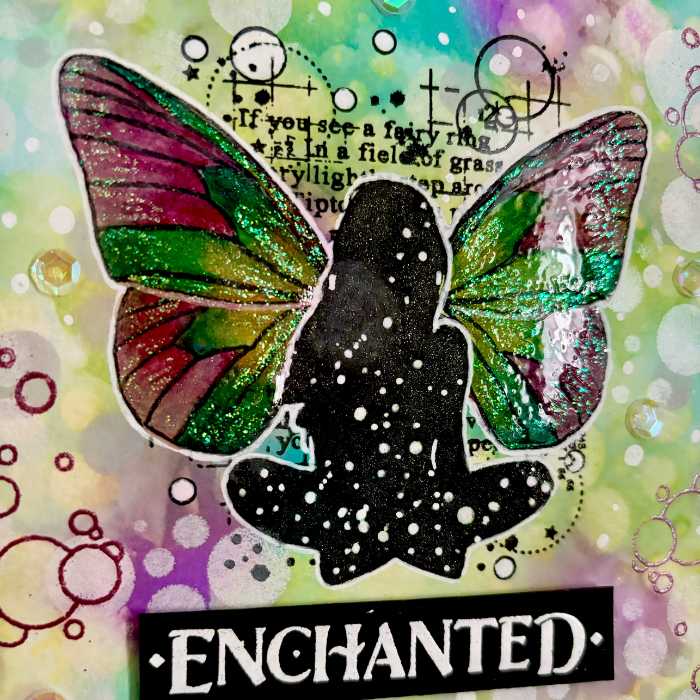
To colour the fairy wings I I used Derwent Inktense watercolour pencils, echoing the background colours. I applied the crayons and then blended the colours together using water and a fine brush. Once dry I applied a layer of silver wink of Stella and outlined the fairy using white Posca paint pen. I also added a few white dots and orbs around the fairy.
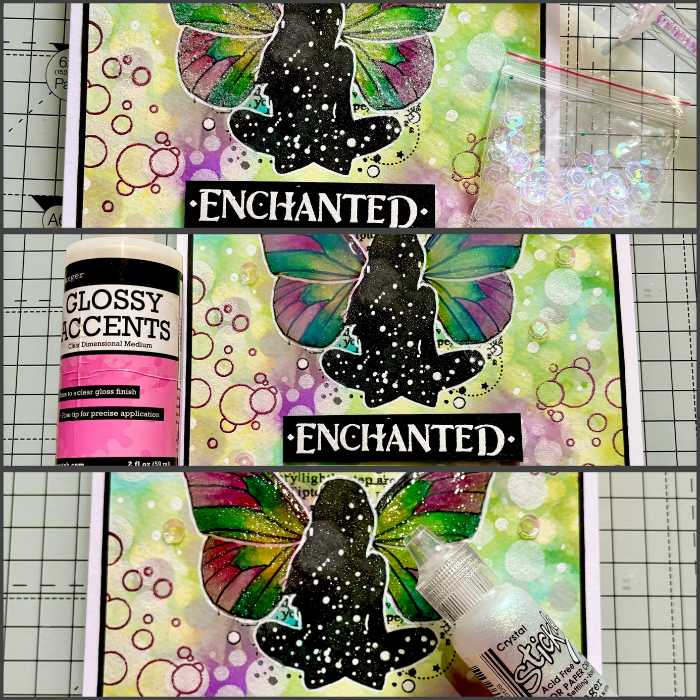
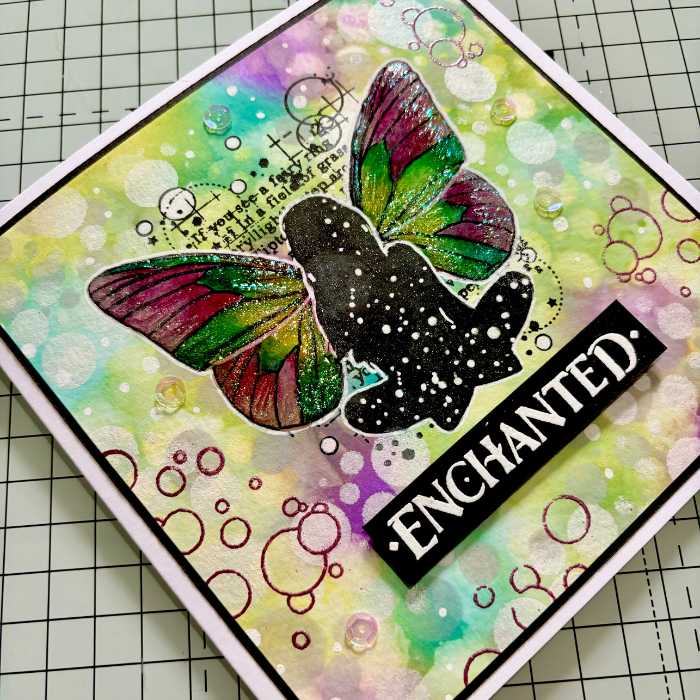
The sentiment was stamped and white embossed onto black card and then I could begin assembling the final card. I mat and layered onto black and then onto a 15x15 card blank. I added some glitter onto the fairy wings but didn’t like it, it looked too “frosted” so I decided to go over the whole of the wings in glossy accents. I added the sentiment using silicone glue to raise it up and glued on a few sequins here and there. When the glossy accents were dry I finished off the wings using Stickles Crystal glitter glue.
- Nicola
Shop Enchanted Fairy Stamp Set
Shop Art Spheres #1

